
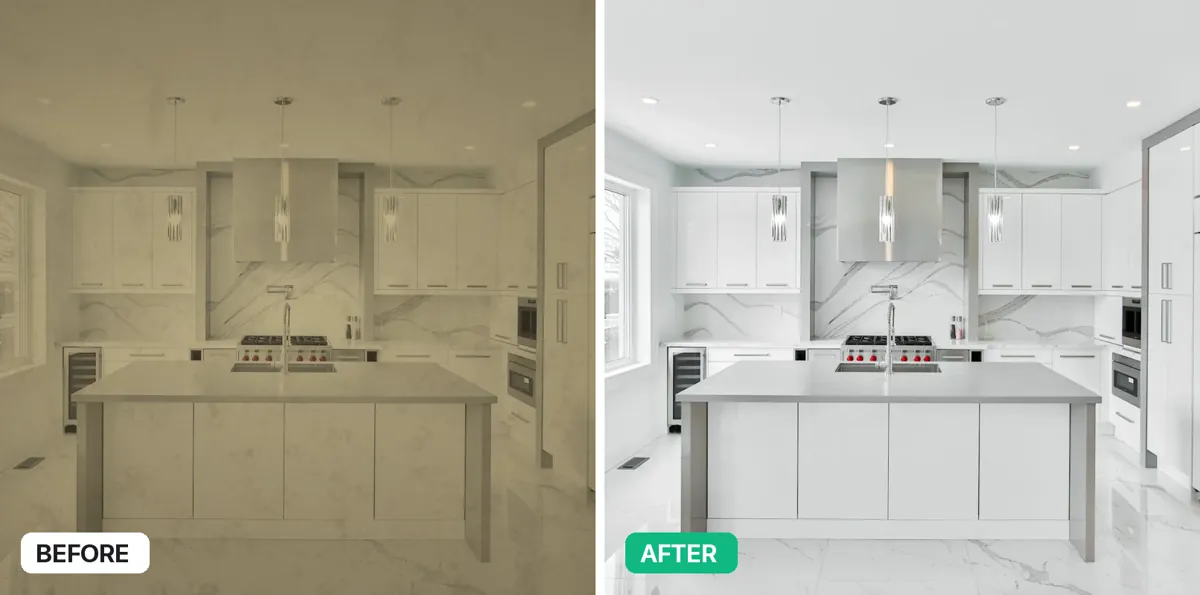
End of tenancy cleans are judged differently from a regular clean. The letting agent or landlord walks in with the check-in inventory in hand and compares — and anything that looks worse than at the start can come off the deposit. Cleaning is the single biggest cause of disputes: it featured in 54% of the deposit disputes the Tenancy Deposit Scheme handled in 2024–25.
Use this checklist room by room, then document the result with before & after photos. If you clean for a living, the photos are what protect you when a complaint lands two weeks later.
Before you start
- Get a copy of the check-in inventory and note anything that was already marked or worn.
- Confirm what's included: oven, carpets, windows (inside or out), fridge/freezer, garden.
- Take wide “before” photos of every room from the doorway before you touch anything.
- Open windows, switch everything on, and check the property is empty of the tenant's belongings.
Kitchen
The kitchen is where most cleaning complaints come from — the oven above all.
- Oven: racks, trays, door glass (between the panes if removable), seals and the inside roof.
- Hob and extractor: degrease the hood and clean or replace the filter.
- Fridge and freezer: defrost, remove shelves and drawers, wipe seals, leave the door ajar.
- Cupboards and drawers inside and out, including the tops of wall units.
- Sink, taps and drainer: descale, polish, clear the plughole.
- Tiles and grout, splashback, plug sockets and switches.
- Washing machine and dishwasher: filters, seals, detergent drawer.
- Floor including edges, under the kickboards where accessible.
Bathroom
- Limescale off taps, shower head, screen and tiles.
- Toilet inside and out, including the base, hinges and behind the cistern.
- Bath and shower tray, sealant lines (note any mould that won't lift).
- Mirrors, cabinets, extractor fan cover.
- Floor and skirting boards.
Bedrooms and living areas
- Dust high to low: light fittings, curtain rails, picture rails, tops of doors and wardrobes.
- Inside wardrobes and drawers.
- Skirting boards, door frames, handles and light switches.
- Windows inside, sills and tracks.
- Radiators, including behind where reachable.
- Vacuum and mop; carpets cleaned if the tenancy agreement requires it.
Hallways, stairs and the rest
- Banisters, spindles and stair edges.
- Front door, letterbox, entry-phone handset.
- Cupboards under the stairs and the boiler cupboard.
- Bins emptied and cleaned; any garden or balcony tidied if included.
How to document the clean
A finished clean is only half the job. Deposit adjudicators decide on evidence, and TDS guidance notes that dated, timely photos show how a property changed over time. For each room:
- Take the “after” photo from the same spot and angle as the “before”.
- Add close-ups of the areas that cause arguments: oven, hob, extractor, limescale, skirting boards.
- Make sure each photo carries the date, time and address — a stamp on the image is easier to check than file metadata.
- Put everything in one report and send it the same day, while the clean is fresh.